Last weekend, I invited friends over for a pizza night. We mixed dough, piled on pepperoni and mushrooms, and slid the pies into the oven. But when we pulled them out, half had crusts so tough we could barely bite through, and the other half were soggy at the bottom. Sound familiar? Homemade pizza crust can feel like a guessing game, but two simple fixes can turn your next attempt into a masterpiece.
The Two Culprits Behind Off Pizza Crusts 🍕
Culprit 1: Overworking the Dough (Tough Crust)
When you knead pizza dough too much, you develop excess gluten. Gluten is what gives bread its structure, but too much makes the crust dense and rubbery. Think of that store-bought frozen pizza crust that feels like cardboard—overworked dough is often the culprit.
Culprit 2: Skipping the Pre-Bake (Soggy Crust)
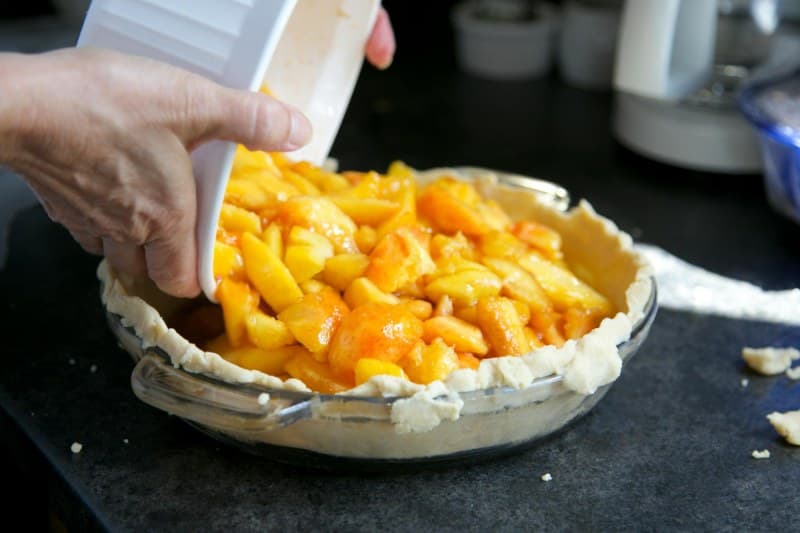
Toppings like tomatoes, cheese, and veggies release moisture as they cook. If you skip pre-baking the crust before adding toppings, that moisture gets trapped, turning the bottom into a mushy mess. Even the best dough can’t stand up to a flood of tomato sauce and melted cheese without a quick pre-bake.
2 Key Fixes to Nail Your Crust Every Time
Fix 1: Handle Dough Gently (For Chewy, Not Tough)
Instead of kneading the dough for 10+ minutes, stop when it’s smooth and elastic—usually 5-7 minutes by hand. Let it rise in a warm spot until it doubles in size (about 1-2 hours). When shaping, use your fingers to press it out instead of rolling it with a pin—rolling can squeeze out air bubbles that make the crust light.
Fix 2: Pre-Bake the Crust (For Crispy, Not Soggy)
Preheat your oven to 475°F (245°C). Roll out the dough, place it on a baking sheet or pizza stone, and bake for 5-7 minutes. This creates a barrier that keeps toppings from making the crust soggy. After pre-baking, add your sauce, cheese, and toppings, then bake for another 10-12 minutes until golden.
Crust Fix Comparison: Gently Handling vs Pre-Baking
Here’s how the two fixes stack up:
| Fix Type | Problem Solved | Key Steps | Pros | Cons |
|---|---|---|---|---|
| Gentle Dough Handling | Tough, dense crust | Knead 5-7 mins; shape with fingers; let rise | Chewy, light texture; no extra steps | Requires patience for rising |
| Pre-Baking | Soggy bottom crust | Bake crust 5-7 mins before adding toppings | Crispy base; handles wet toppings well | Adds 5 mins to prep time |
Common Myths Debunked
Myth 1: More Yeast = Fluffier Crust
Too much yeast can make the crust rise too fast and collapse, leaving it dense. Follow the recipe’s yeast amount—usually 1 tsp for a standard pie.
Myth 2: You Need a Pizza Stone to Get Crispy Crust
A pizza stone helps, but you can use a baking sheet flipped upside down (preheated for 10 mins) for a similar crispy effect. Just make sure to dust it with flour or cornmeal to prevent sticking.
Classic Wisdom for Pizza Success
“The only real stumbling block is fear of failure. In cooking, you’ve got to have a what-the-hell attitude.” — Julia Child
Julia’s words ring true for pizza making. Don’t be afraid to experiment—if your first crust is tough, try handling the dough more gently next time. If it’s soggy, add a pre-bake step. Every mistake is a chance to learn.
FAQ: Your Pizza Crust Questions Answered
Q: Can I use all-purpose flour instead of bread flour for pizza crust?
A: Yes! All-purpose flour works fine, but bread flour has more protein (which makes gluten), so it gives a chewier crust. If you use all-purpose, add a tbsp of vital wheat gluten to mimic bread flour’s texture.
Q: How long should I let the dough rise?
A: It depends on the temperature—warm spots (like near a stove) speed up rising. Aim for 1-2 hours until the dough doubles in size. For extra flavor, you can let it rise in the fridge overnight.
Next time you make pizza, give these fixes a try. Your friends (and your taste buds) will thank you. Happy baking!