Last weekend, I took a photo of a sunset over the lake—except it came out way too dark, the oranges muted, and the water looked gray. Instead of deleting it, I opened my phone’s photo app, adjusted the exposure, tweaked the color balance, and added a soft filter. Suddenly, the sunset popped, and the lake glowed like liquid gold. That’s the magic of smartphone photo editing: turning a so-so shot into something you want to share.
6 Key Steps Your Phone Takes to Edit Photos
When you tap that “edit” button, your phone goes through a series of simple but powerful steps to enhance your photo. Here’s what happens:
- Auto-Adjust: First, the app scans your photo for issues like brightness or color cast and makes quick fixes. Think of it as a first pass to get things right.
- Exposure: This controls how bright or dark your photo is. If your sunset was too dark, sliding the exposure up lets more light in.
- Contrast: It boosts the difference between dark and light areas. For the sunset, this makes the orange sky stand out against the dark water.
- Color Correction: Adjusts white balance to fix weird tints (like a yellow or blue cast from indoor lights).
- Cropping: Trims the photo to focus on the best part—like cutting out the random tree branch on the edge of your sunset shot.
- Filters: Adds a pre-set mood (warm, cool, vintage) to change the feel of your photo. Just don’t overdo it!
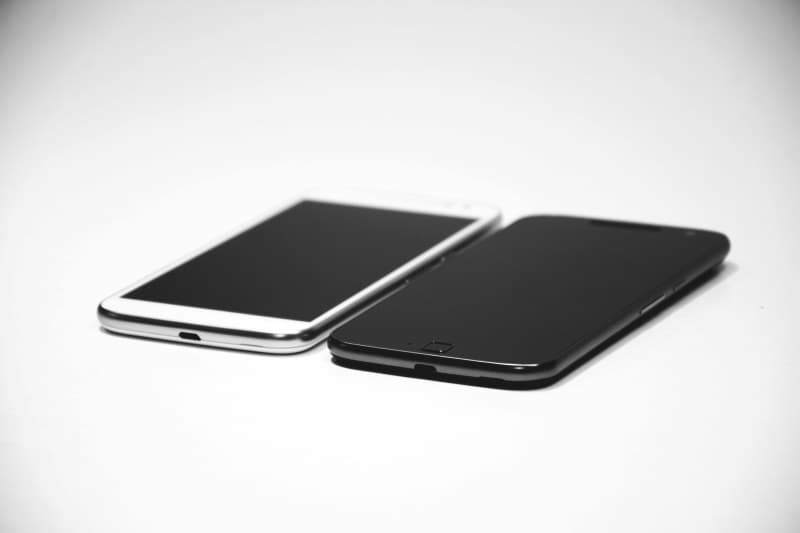
Built-In vs. Third-Party Editing Apps: Which to Use?
Not sure whether to stick with your phone’s default app or download a third-party one? Here’s a quick comparison:
| Feature | Built-In Apps (e.g., iPhone Photos, Google Photos) | Third-Party Apps (e.g., Snapseed, VSCO) |
|---|---|---|
| Ease of Use | Super simple—no learning curve | More features, but takes time to master |
| Cost | Free (included with your phone) | Mostly free, some have premium features |
| Advanced Features | Basic (exposure, crop, filters) | Pro tools (selective editing, noise reduction) |
| Quality | Good for everyday edits | Professional-level results |
Common Myths About Phone Photo Editing
Let’s bust some myths that might be holding you back from editing your photos:
- Myth: Filters are only for social media.
Truth: Filters can enhance the mood of any photo—like a warm filter for a family dinner or a cool one for a winter landscape. - Myth: Auto-edits are always perfect.
Truth: Auto-edits are a starting point, but sometimes you need to tweak them (e.g., auto might make a sunset too bright). - Myth: Editing reduces photo quality.
Truth: As long as you save your edits in a high-quality format (like JPEG or PNG), you won’t lose much quality—especially if you don’t over-process.
“You don’t take a photograph, you make it.” — Ansel Adams
This quote sums up why editing matters. A photo is more than just a snapshot—it’s a way to share your vision of the world. Editing helps you turn what you saw into what others see.
Quick Pro Tips for Better Phone Edits
Want to step up your editing game? Try these:
- Use the rule of thirds when cropping: Imagine your photo divided into 3x3 grids, and place your subject at the intersections.
- Adjust exposure before adding filters—filters can make a photo too dark or bright if you don’t fix exposure first.
- Save a copy of the original photo so you can always go back if you don’t like your edits.
FAQ: Your Burning Questions Answered
Q: Will editing my photo on my phone make it look pixelated when I print it?
A: It depends on the size of the print. For small prints (like 4x6), even edited phone photos look great. For larger prints (like 11x14), make sure your photo has a high resolution (at least 300 DPI) before editing. Most modern phones take high-res photos, so this shouldn’t be a problem.
Editing your photos on your phone doesn’t have to be complicated. With a little practice, you can turn any ordinary shot into something special. So next time you take a photo that’s not quite right, don’t delete it—give editing a try!