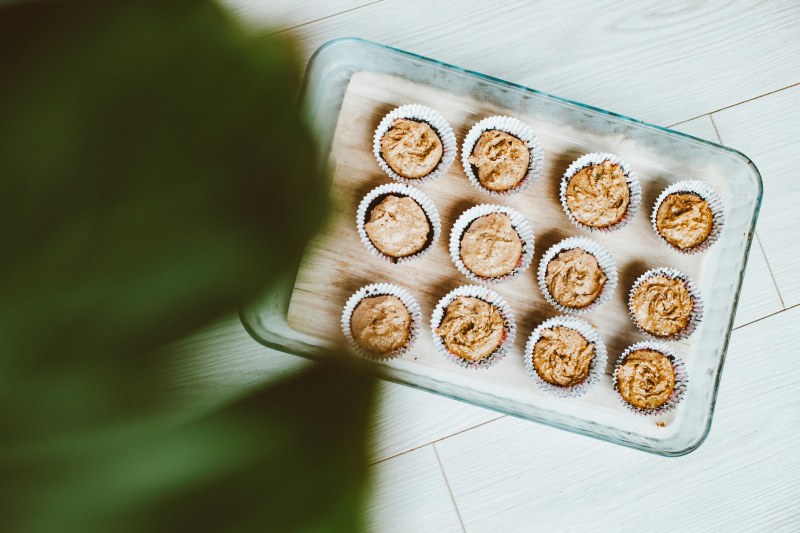
Last month, my friend Lila moved into a tiny apartment and brought her 12 houseplants along. She loved them but couldn’t drill holes to hang shelves or install permanent stands. Sound familiar? If you’re a renter or just hate drilling, DIY plant stands that don’t damage walls are a game-changer. Here are 5 easy, low-cost ideas to display your green friends without breaking the rules.
Why Renter-Friendly Plant Stands Matter
Renter-friendly stands let you personalize your space without risking your security deposit. They’re flexible—you can move them around as your plant collection grows. Plus, many use upcycled items, so they’re kind to your wallet and the planet.
5 DIY Plant Stand Ideas (No Drilling Required)
Each idea is designed to be easy and affordable. Here’s a quick comparison to help you pick the right one:
| Idea | Cost | Time | Skill Level | Style Vibe |
|---|---|---|---|---|
| Stacked Hardcover Books | $0 (use what you have) | 5 mins | Beginner | Cozy/Bookish |
| Upcycled Wooden Crate | $5-$10 (thrift store) | 10 mins (sand if needed) | Beginner | Rustic |
| No-Drill Macramé Hanger | $10-$15 (rope + ring) | 30 mins | Intermediate | Boho |
| Repurposed Tiered Towel Rack | $10-$20 (thrift store) | 5 mins | Beginner | Modern |
| Cinder Block + Wood Plank | $15-$25 (blocks + plank) | 10 mins | Beginner | Industrial |
1. Stacked Hardcover Books
Grab a few thick, sturdy books (think old textbooks or coffee table books) and stack them to your desired height. Place a plant pot on top—perfect for small succulents or herbs. Lila used her old poetry collection to lift her pothos, adding a literary touch to her living room.
2. Upcycled Wooden Crate
Head to a thrift store for a wooden crate. Sand it down if it’s rough, then place your plant inside or on top. You can even add casters to make it mobile. My neighbor used a crate to hold her large snake plant, giving it a rustic, farmhouse feel.
3. No-Drill Macramé Hanger
Use cotton rope and a ceiling hook that sticks (no drilling!) to hang your plant. There are tons of free macramé patterns online—start with a simple knot. Lila made one for her string of pearls, and it now hangs near her window, trailing beautifully.
4. Repurposed Tiered Towel Rack
Find a tiered towel rack at a thrift store. Clean it, then place plants on each tier. It’s great for small spaces since it uses vertical room. My cousin uses one in her kitchen to hold her basil and mint plants.
5. Cinder Block + Wood Plank
Buy two cinder blocks and a wooden plank (cut to size). Stack the blocks on either end, then place the plank on top. This stand is super sturdy—perfect for large plants like fiddle-leaf figs. Just add a coat of paint to the blocks if you want to match your decor.
“One man's trash is another man's treasure.” — Benjamin Franklin
This quote sums up the spirit of these DIY stands. Items like old books or crates that might otherwise be thrown away become functional, stylish pieces for your plants.
Pro Tips for Success
- Add felt pads to the bottom of stands to protect your floors.
- Choose stands that match your plant’s size—small stands for small plants, sturdy ones for large ones.
- Rotate your plants every week so all sides get sunlight.
FAQ: Common Questions
Q: Can these stands hold heavy plants?
A: Yes, but check weight limits. Cinder block stands can hold up to 50 lbs, while stacked books work best for plants under 10 lbs. Always test the stand before placing a heavy plant on it.
Q: How do I make the macramé hanger stay up without drilling?
A: Use a removable ceiling hook (like Command hooks) that’s rated for the weight of your plant. Follow the instructions carefully to ensure it sticks properly.
Whether you’re a renter or just love DIY, these plant stands are a great way to show off your green friends. Give one a try—your plants (and your security deposit) will thank you!