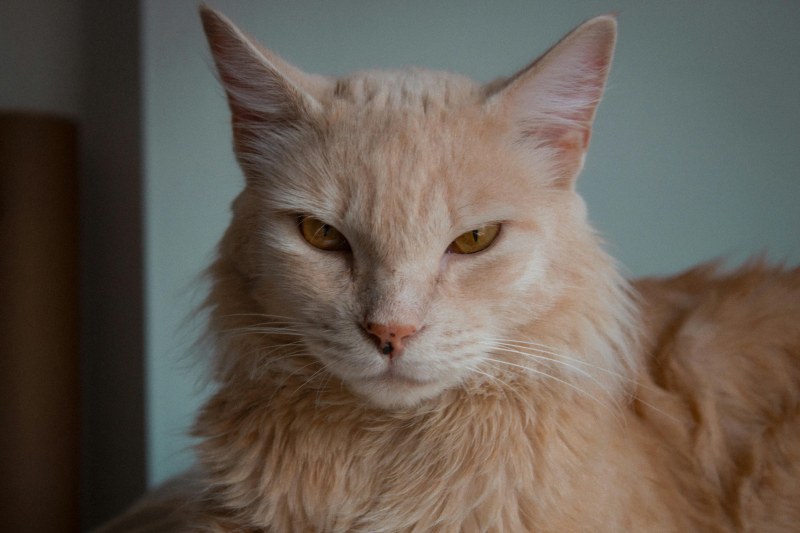
Mia’s 500 sq ft apartment felt empty without greenery, but her golden retriever Max loved chewing everything. She tried a potted snake plant once—until Max took a bite and got sick. That’s when she realized: pet-friendly planters aren’t just a nice-to-have; they’re a necessity for anyone who wants both plants and happy furry friends. If you’re in the same boat, here are 4 DIY planter projects that are small-space-friendly, renter-approved, and safe for your pets.
Why Pet-Friendly Planters Are a Game-Changer
For pet owners, indoor plants can be a double-edged sword. Many common houseplants (like lilies, pothos, or philodendron) are toxic to cats and dogs. Even non-toxic plants can be a mess if your pet knocks them over. Pet-friendly planters solve both problems: they keep plants out of reach (or in safe containers) and use materials that won’t harm your pet if chewed.
“He who plants a tree plants hope.” — Lucy Larcom. For pet owners, planting a safe, accessible plant is planting hope for a harmonious home where both humans and animals thrive.
4 Pet-Friendly DIY Planter Projects
1. Hanging Macramé Planter 🌿
This planter keeps plants high up, away from curious paws. You’ll need: 3 yards of cotton cord, a small ceramic pot (pet-safe), and a removable ceiling hook. Step 1: Cut the cord into 4 equal lengths. Step 2: Tie a knot at the top, leaving a loop for hanging. Step 3: Braid or knot the cords down to the pot, then secure it with a final knot. Pros: Renter-friendly, keeps plants out of reach. Cons: Takes 30 minutes to make, needs ceiling space.
2. Wall-Mounted Pocket Planter 🧵
Perfect for small walls. You’ll need: Fabric scraps (or an old tote bag), adhesive wall strips, and small plastic pots. Step 1: Cut fabric into 4-6 rectangular pockets. Step 2: Sew the edges to create pockets. Step 3: Attach adhesive strips to the back and stick to the wall. Pros: Uses recycled materials, saves floor space. Cons: Adhesive strips may not hold heavy pots.
3. Tiered Ladder Planter 🪜
Free-standing and great for corners. You’ll need: An old wooden ladder (or 3 wooden planks), mason jars, and zip ties. Step 1: Place the ladder against a wall. Step 2: Secure mason jars to the rungs with zip ties. Step 3: Add pet-safe plants. Pros: No installation needed, holds multiple plants. Cons: Takes up some floor space.
4. Window Sill Herb Planter 🪴
Fresh herbs for cooking and safe for pets. You’ll need: Recycled tin cans (washed), paint (non-toxic), and potting soil. Step 1: Paint the cans with non-toxic paint. Step 2: Drill small holes in the bottom for drainage. Step 3: Fill with soil and plant herbs like basil or mint. Pros: Low cost, uses recycled materials. Cons: Needs window light.
Which Planter Fits Your Space? A Quick Comparison
Here’s how the 4 projects stack up:
| Project Name | Cost | Time to Make | Renter-Friendly | Pet Safety Level |
|---|---|---|---|---|
| Hanging Macramé | Low ($5-$10) | 30 mins | Yes | High (out of reach) |
| Wall Pocket | Very Low (recycled materials) | 20 mins | Yes | Medium (wall height) |
| Tiered Ladder | Medium ($15-$20) | 45 mins | Yes | Medium (depends on ladder height) |
| Window Sill Herb | Very Low (recycled cans) | 15 mins | Yes | Low (easy to reach, so use non-toxic plants) |
Common Questions About Pet-Friendly Planters
Q: Can I use any container for these planters?
A: Yes, as long as it’s pet-safe (no sharp edges, non-toxic materials). Avoid containers with lead-based paint or small parts that your pet could chew off.
Q: What are the best pet-safe plants to put in these planters?
A: Spider plants, Boston ferns, parlor palms, and herbs like basil, mint, or parsley are all safe for cats and dogs. Always double-check a plant’s toxicity before buying.
Final Thoughts
Adding greenery to your home doesn’t have to mean choosing between your plants and your pets. These 4 DIY planters are easy to make, affordable, and safe for your furry friends. Mia’s Max now spends his afternoons napping under her hanging macramé planter, and she gets to enjoy the fresh greenery she loves. As Lucy Larcom said, planting hope is just a few DIY steps away.